Desde Italia me ha llegado este mitico Breitling de Giuseppe Gazzola para su restauración
Como se puede apreciar esta bastante mal
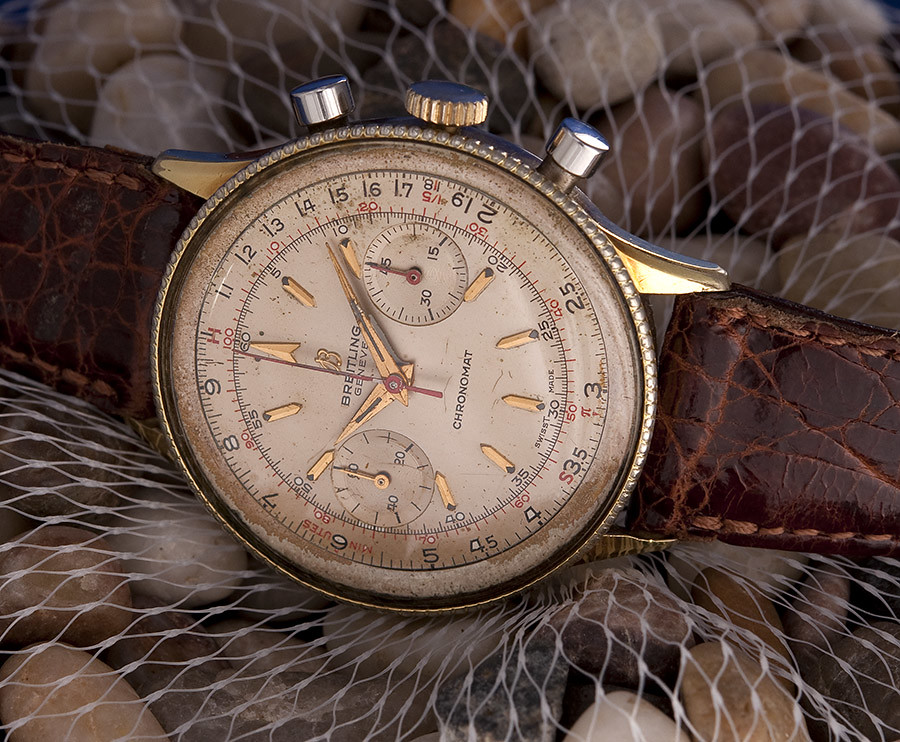
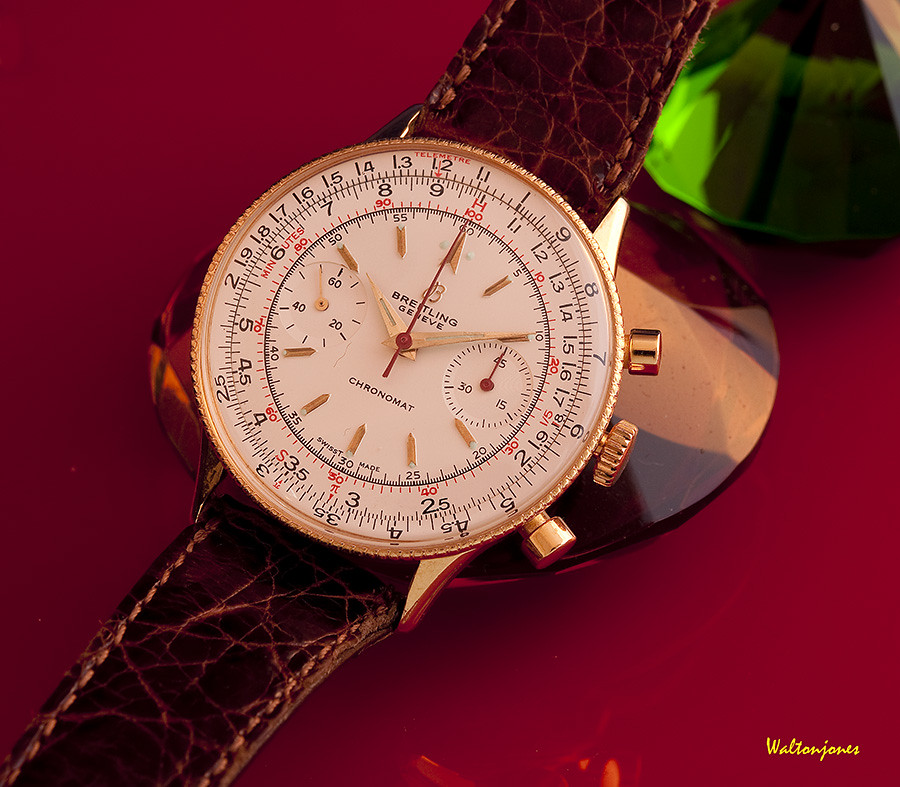
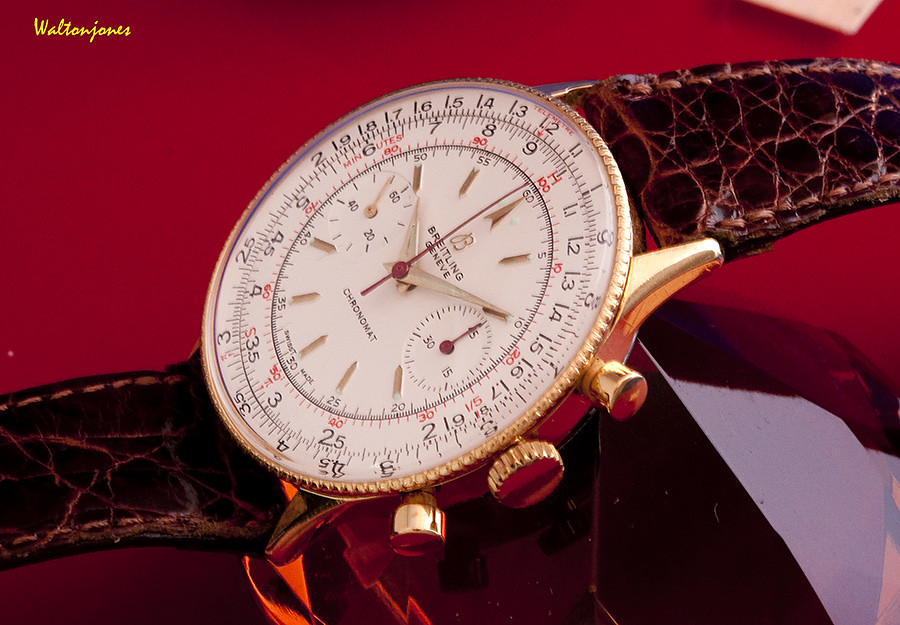
Este Chronomat es de los años 60 con biesl giratorio acanalado, regla de calculo y pulsadores circulares.
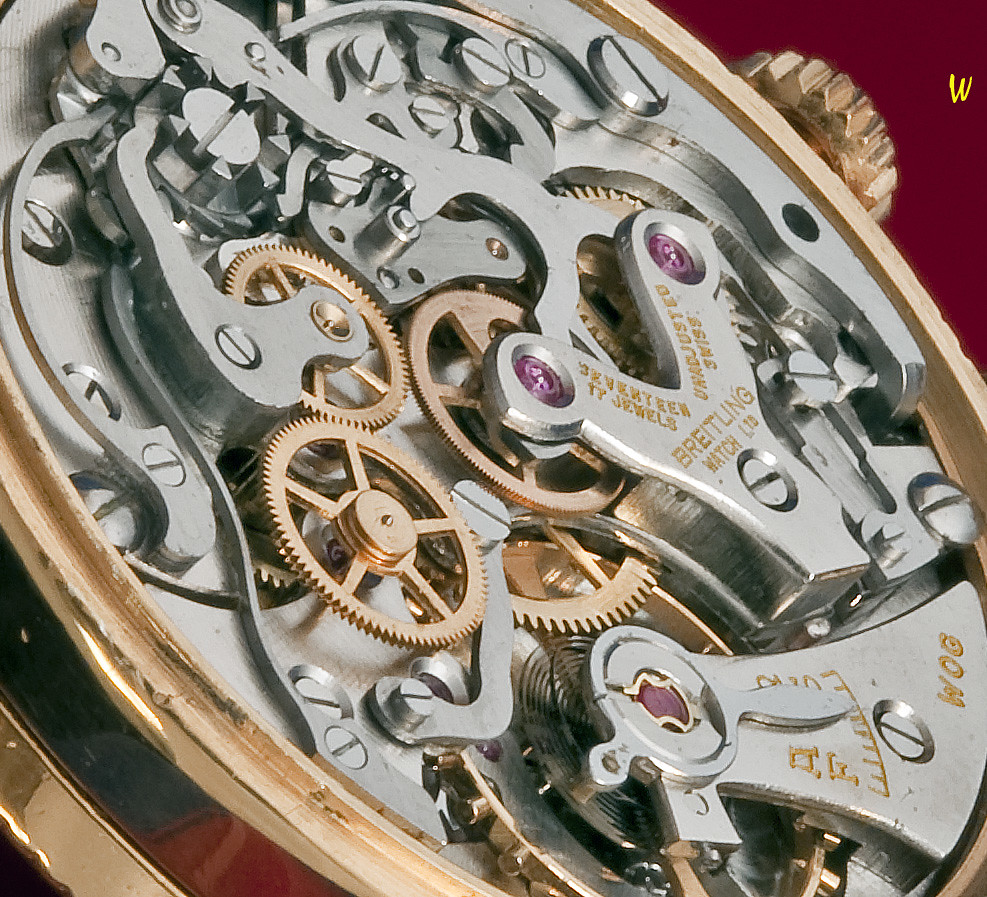
Monta el calibre Venus 175 y personalizado por Breitling
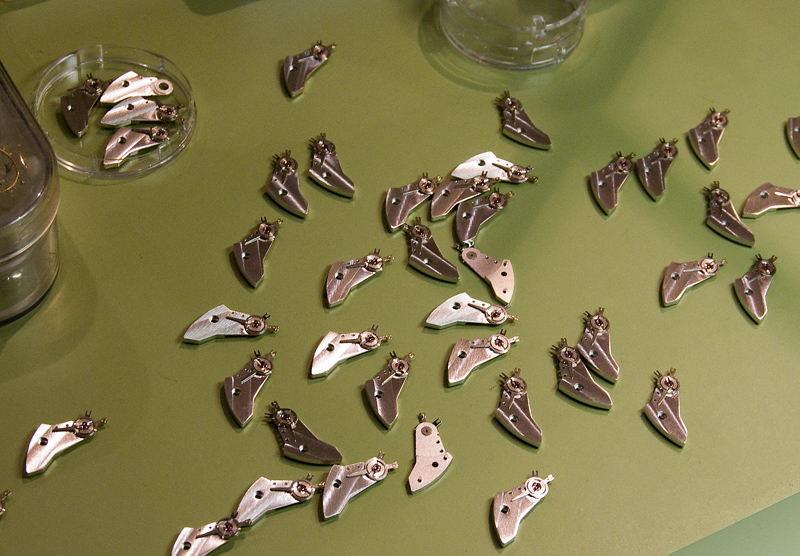
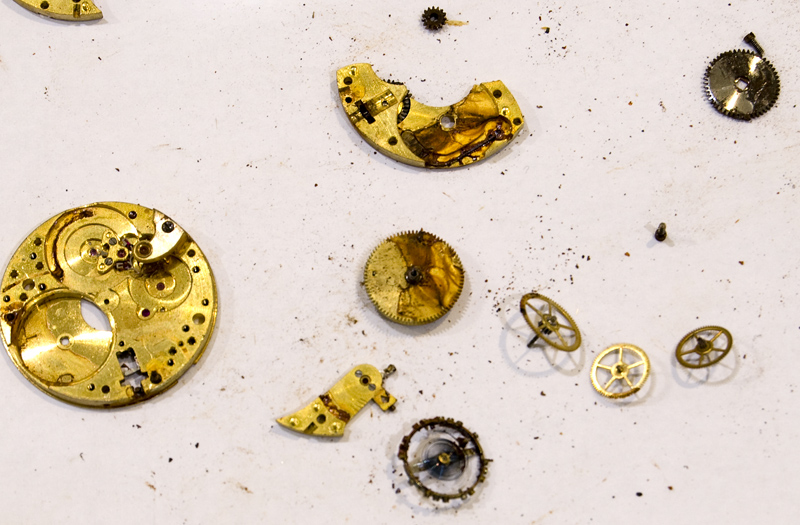
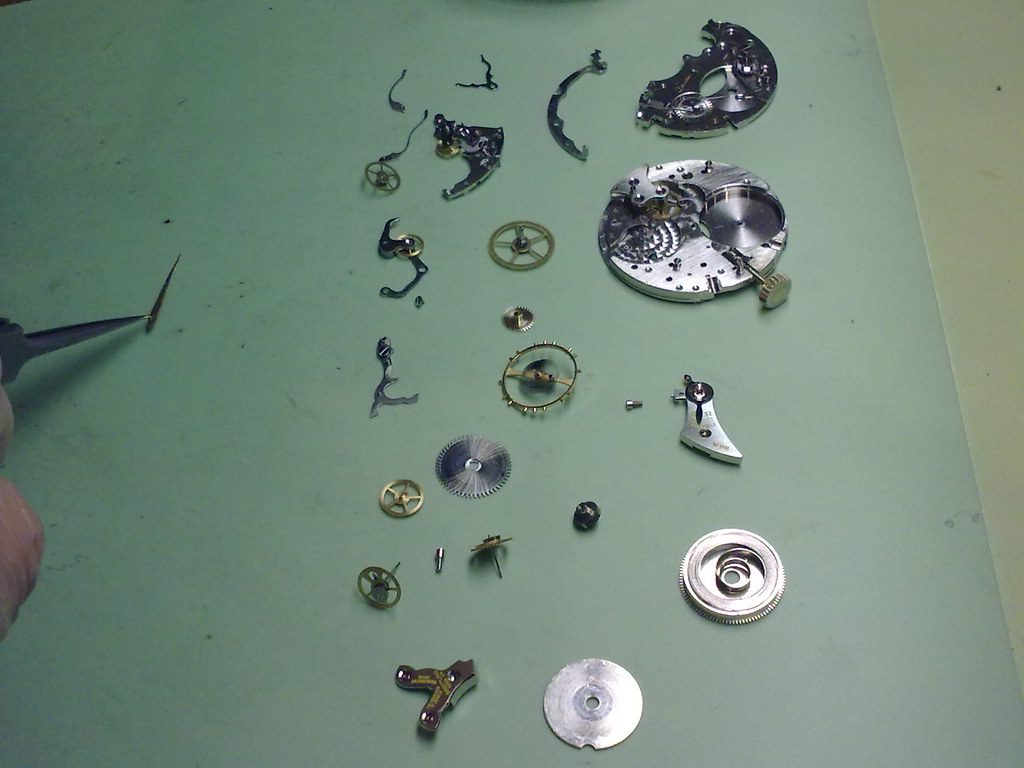
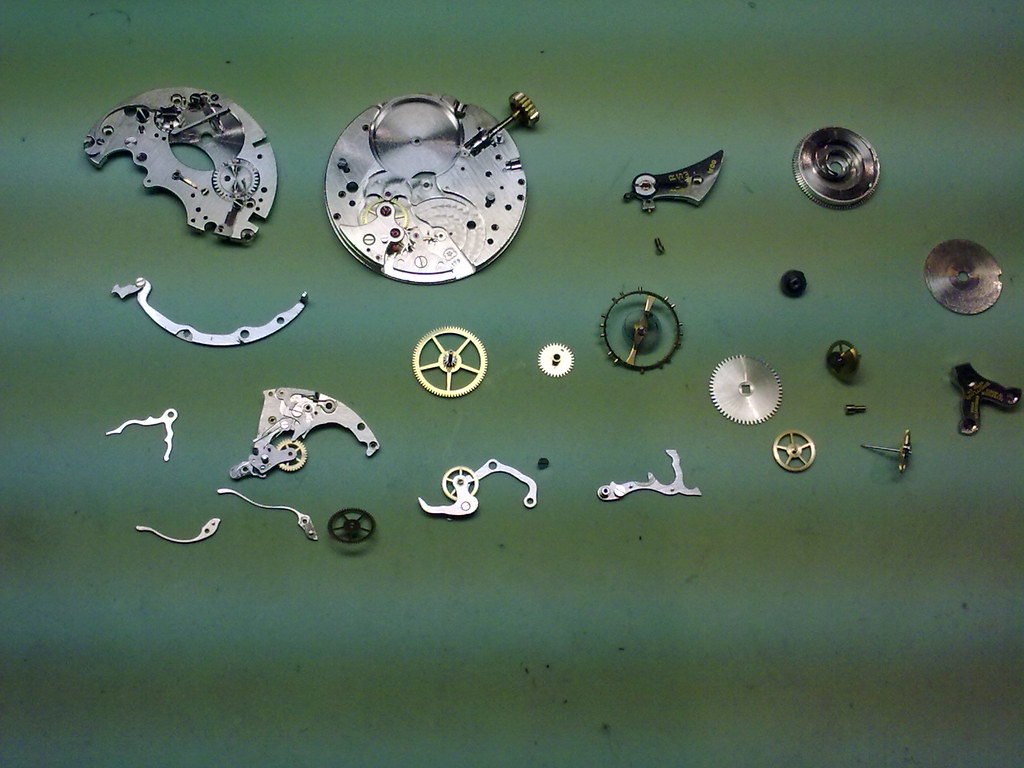
Desmonto el reloj y limpio el movimiento
Voy montando
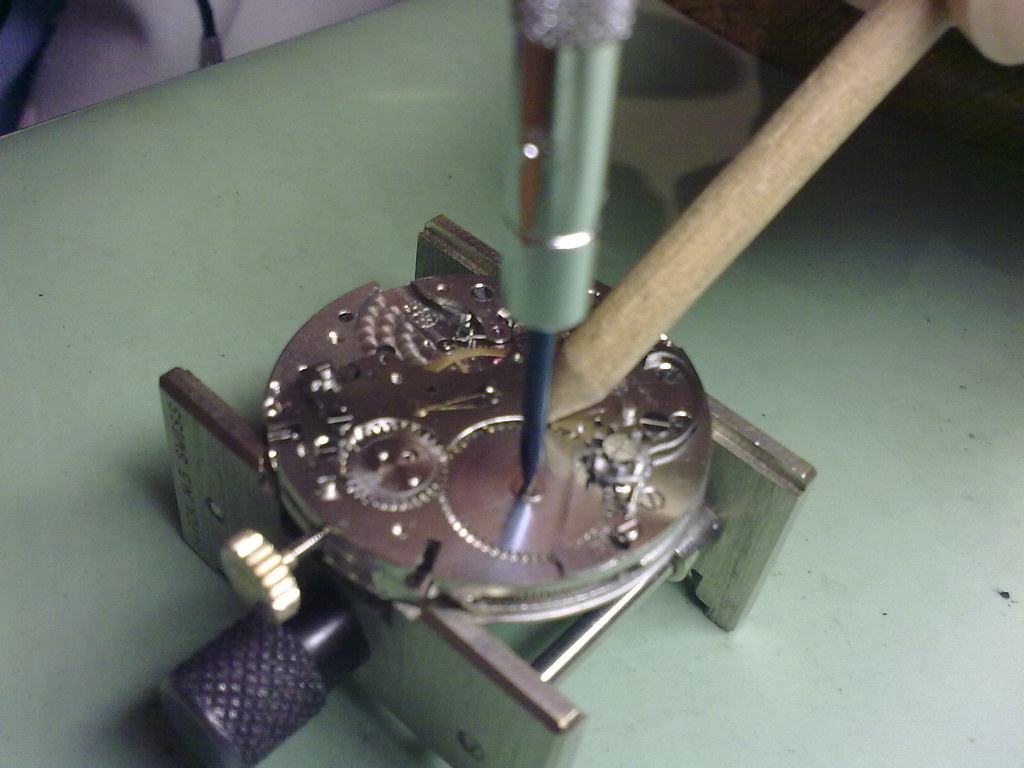
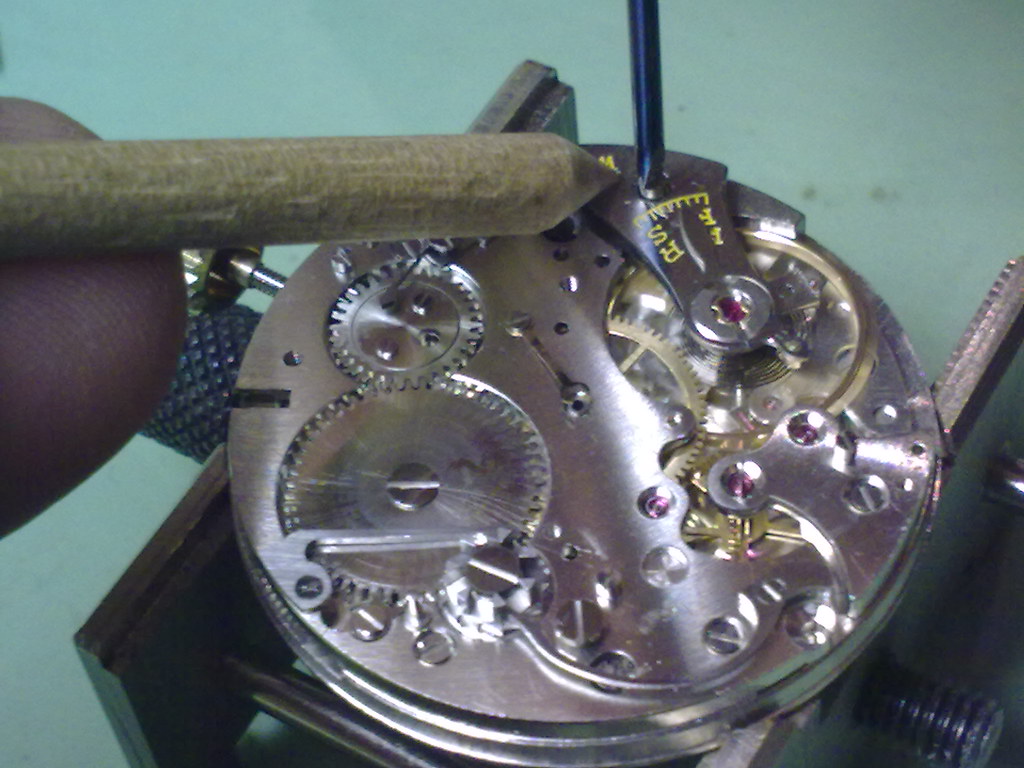
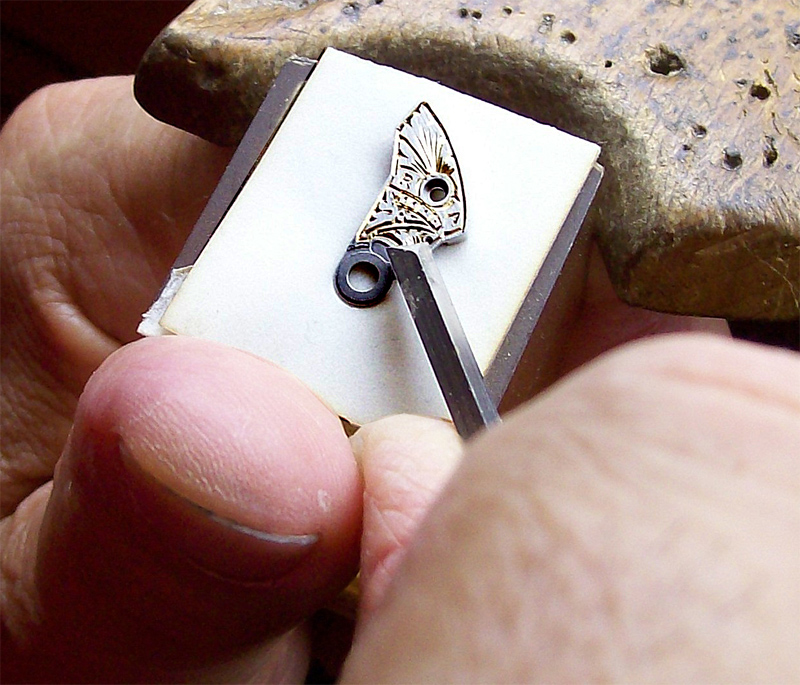
Una vez montado, aceitado y engrasado el movimiento basico, empiezo a montar las partes del crono. Haciendo las oportunas comprobaciones
<EMBED height=300 type=application/x-shockwave-flash width=400 src=http://www.flickr.com/apps/video/stewart.swf?v=71377 flashvars="intl_lang=es-us&photo_secret=cf6a799daa&photo_id=5203441267" allowfullscreen="true" bgcolor="#000000">
<EMBED height=300 type=application/x-shockwave-flash width=400 src=http://www.flickr.com/apps/video/stewart.swf?v=71377 flashvars="intl_lang=es-us&photo_secret=717cabfc21&photo_id=5204056744" allowfullscreen="true" bgcolor="#000000">
<EMBED height=300 type=application/x-shockwave-flash width=400 src=http://www.flickr.com/apps/video/stewart.swf?v=71377 flashvars="intl_lang=es-us&photo_secret=5b92947152&photo_id=5203448803" allowfullscreen="true" bgcolor="#000000"></EMBED>
<EMBED height=300 type=application/x-shockwave-flash width=400 src=http://www.flickr.com/apps/video/stewart.swf?v=71377 bgcolor="#000000" allowfullscreen="true" flashvars="intl_lang=es-us&photo_secret=1488bd4e16&photo_id=5203466163">
Ahora a preparar las partes externas.
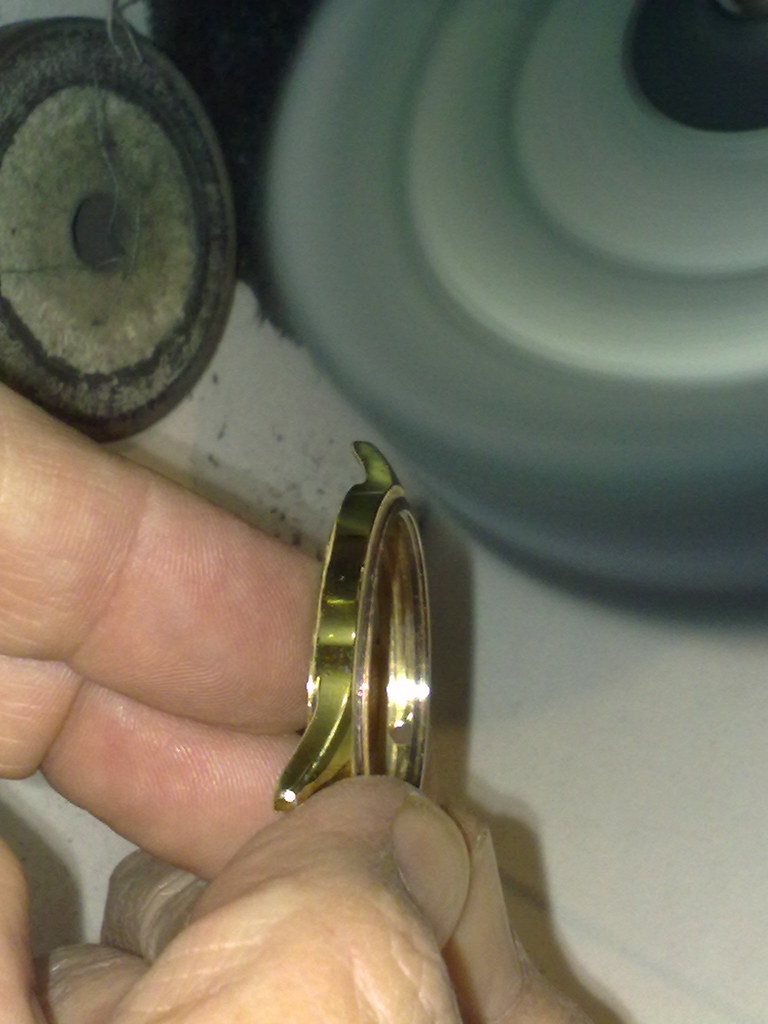
Aqui, el bisel ya restaurado
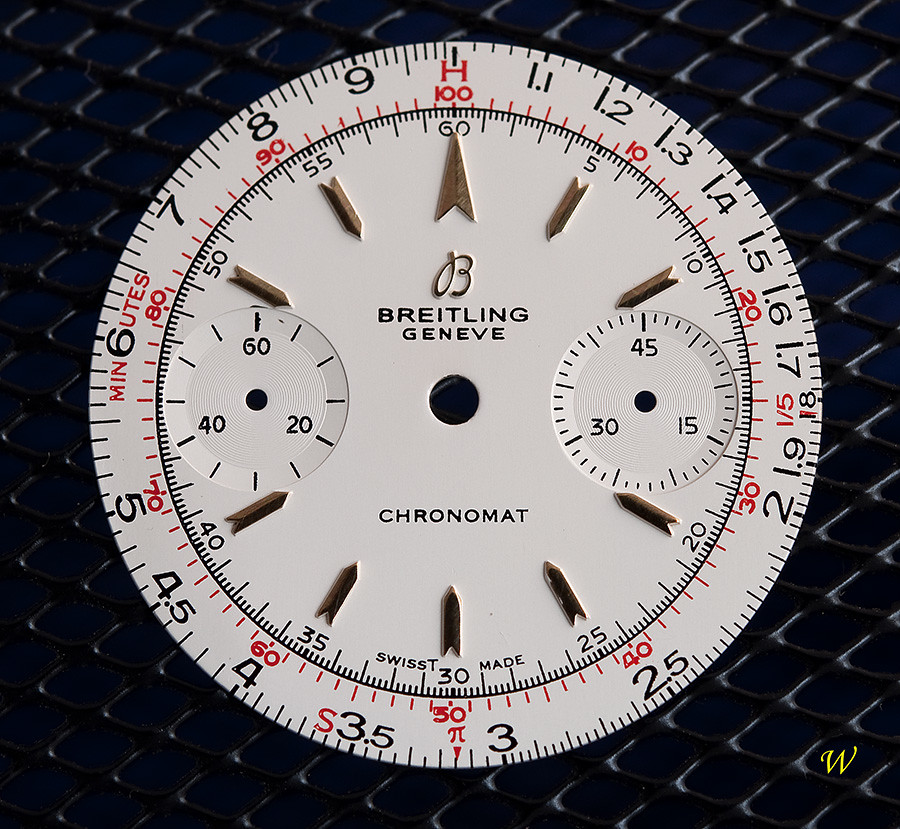
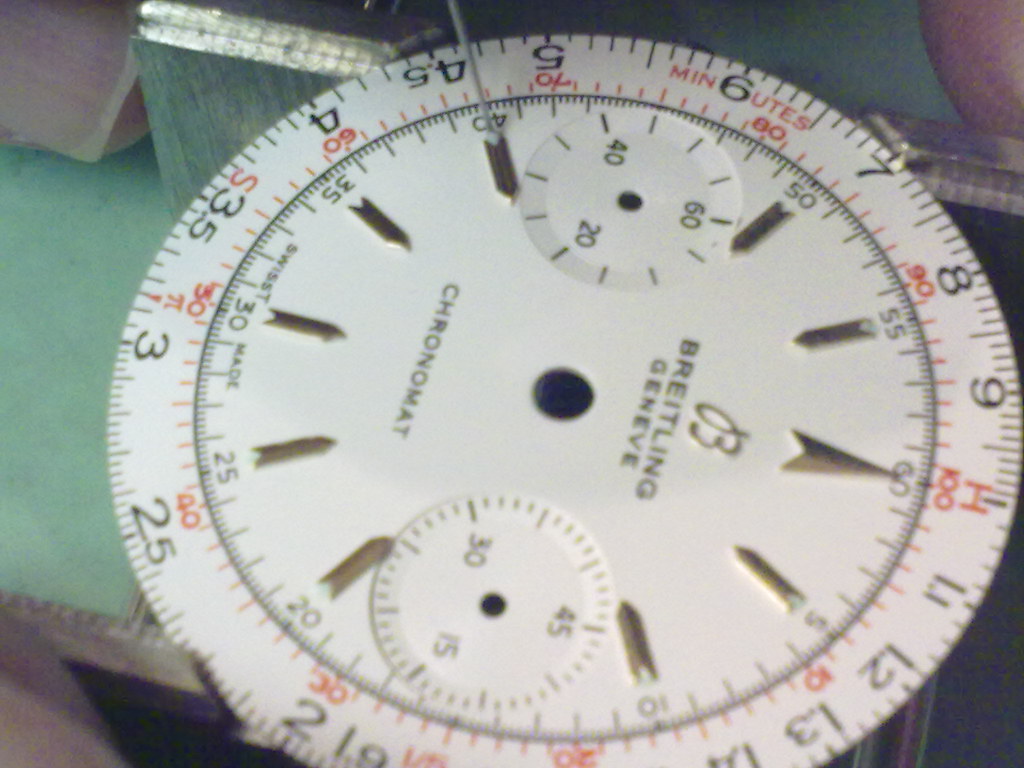
Y la esfera
Le doy luminova
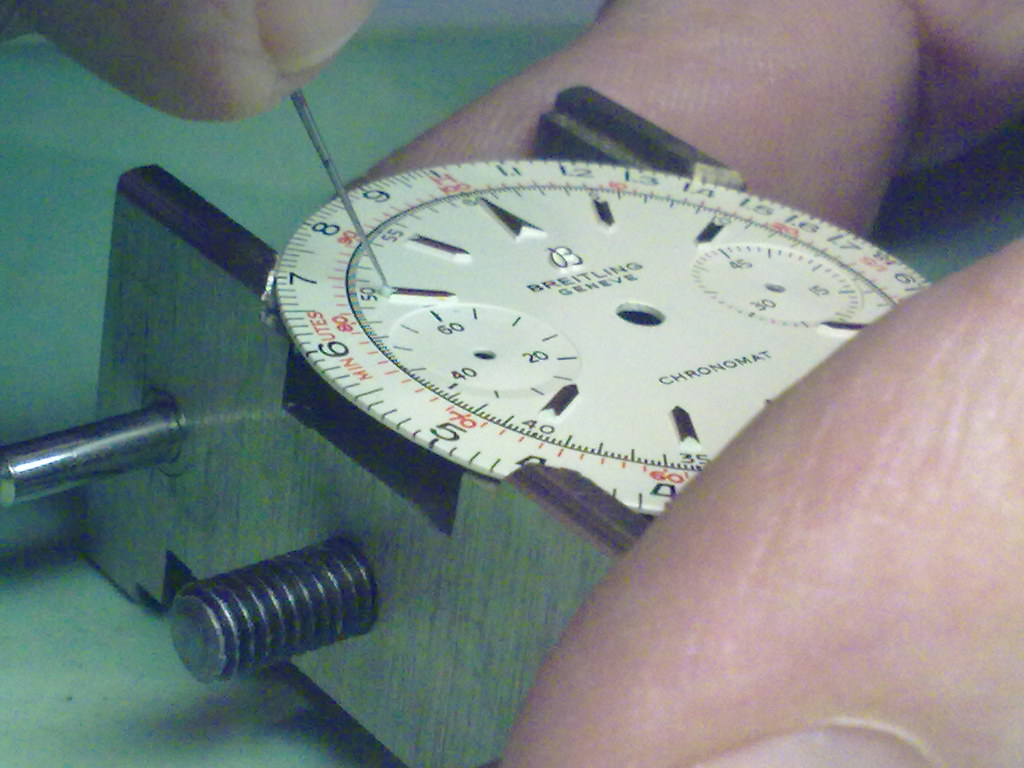
Aprovecho y le doy a las agujas

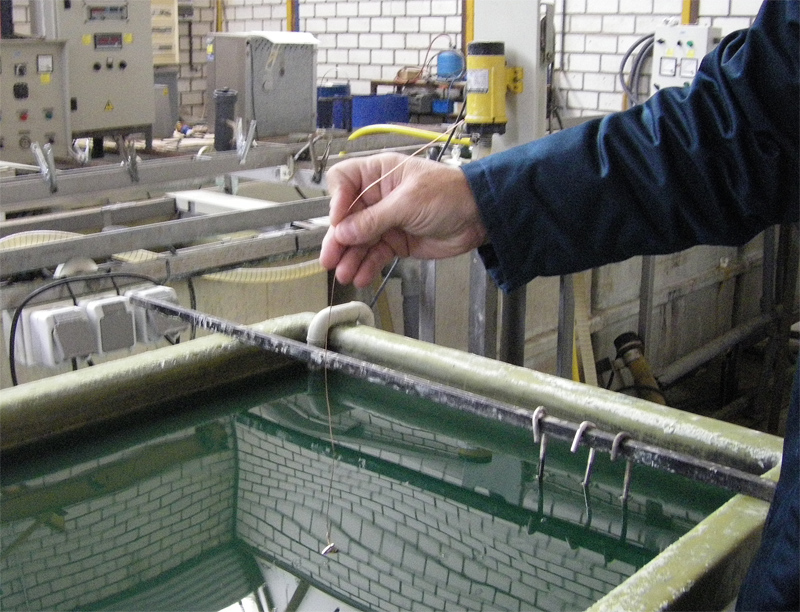
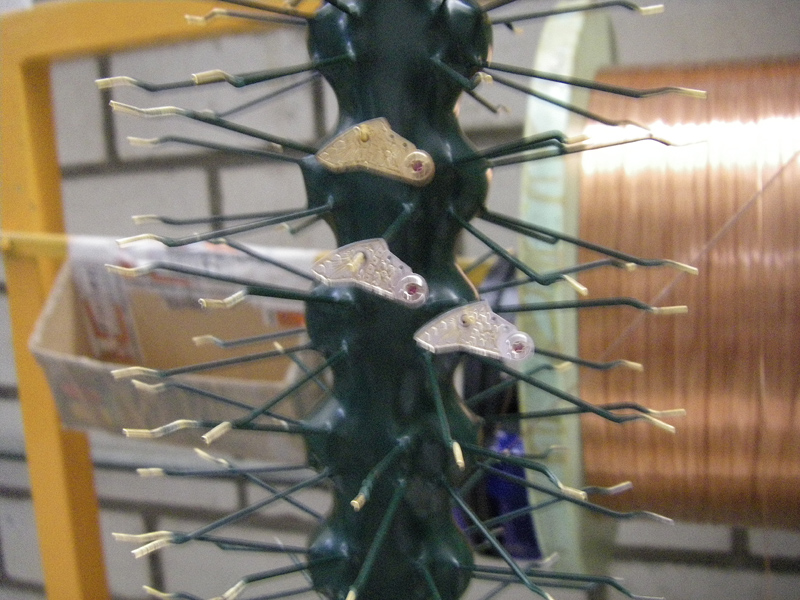
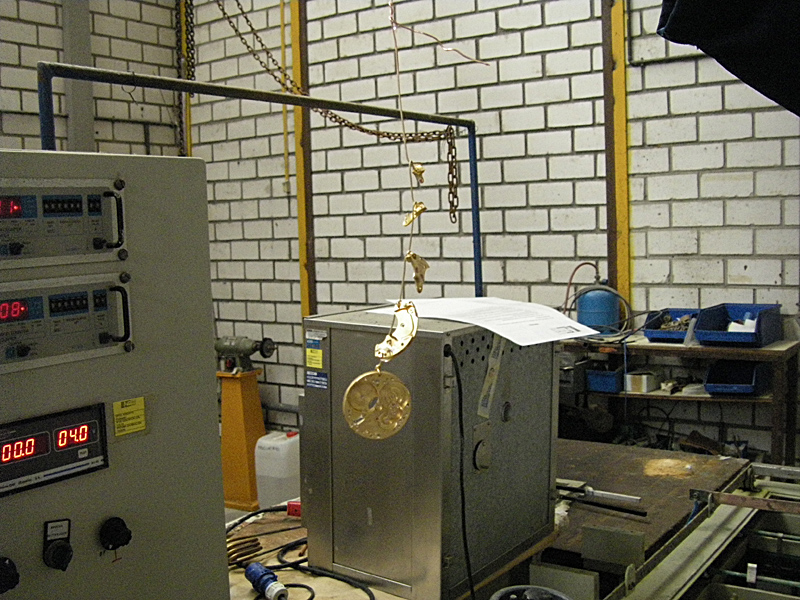
Ahora preparo la caja para chaparla.
Le quito las camisas de los pulsadores
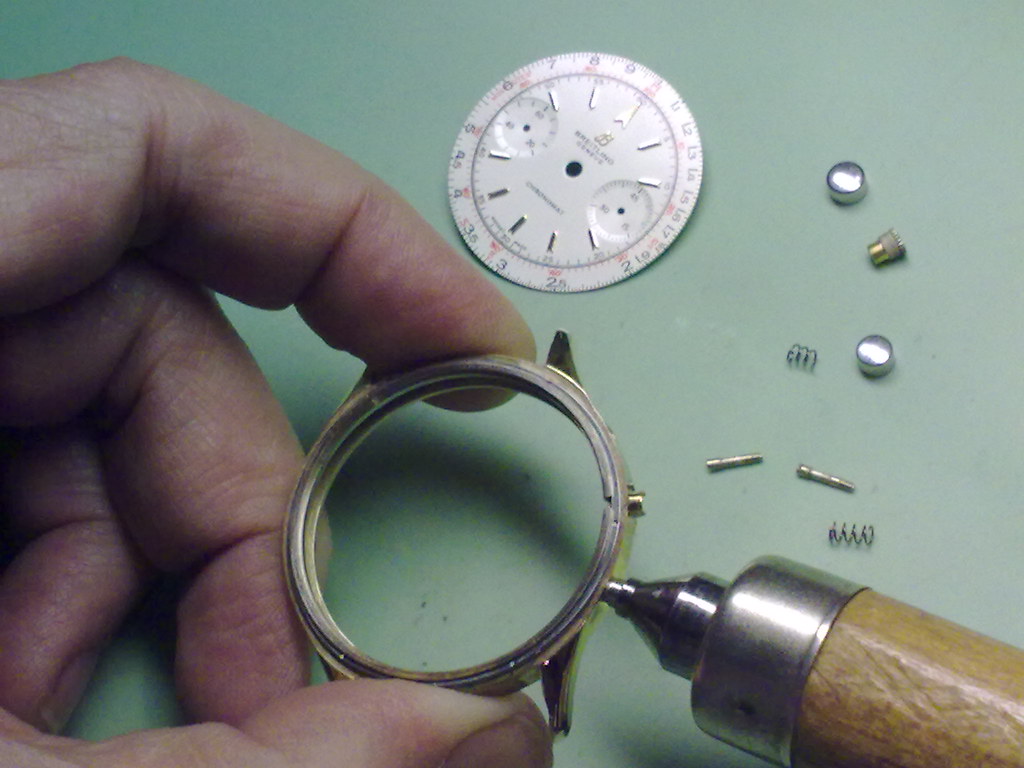
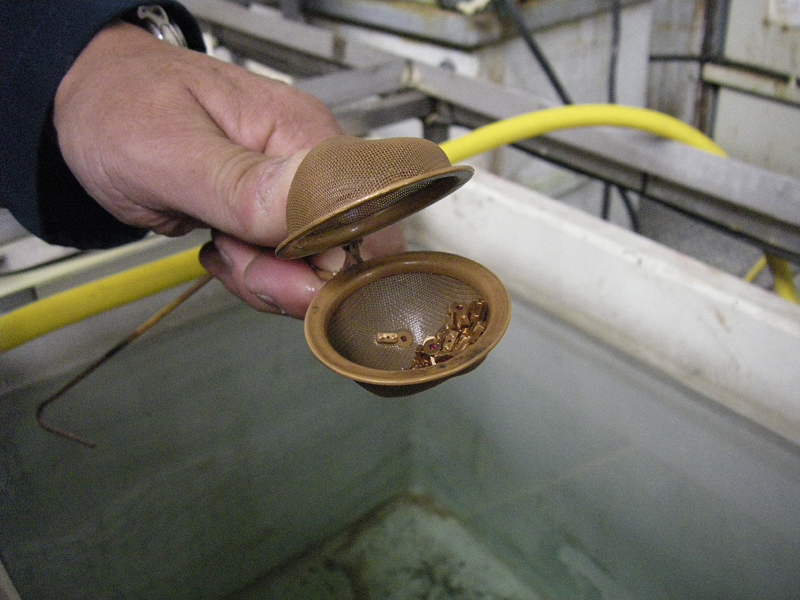
Preparo la caja para darle el chapado
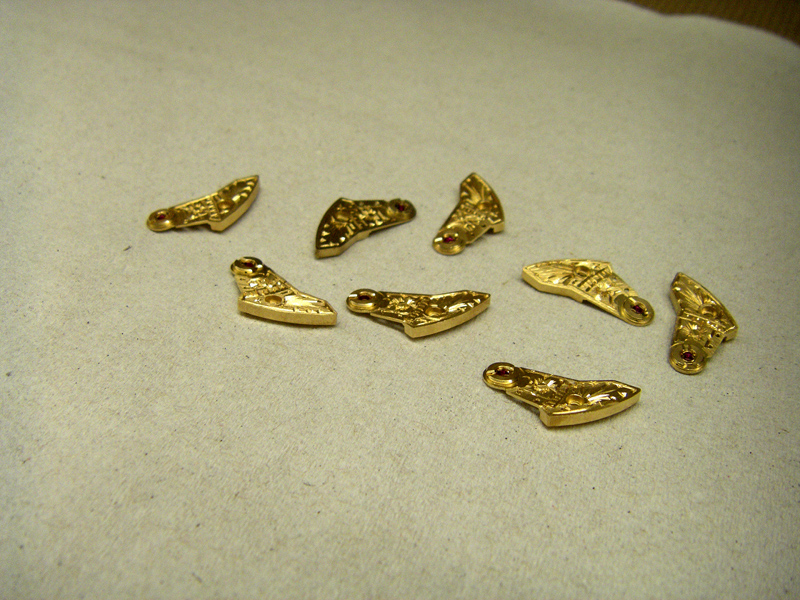
Ya todo listo. Le meto en caja
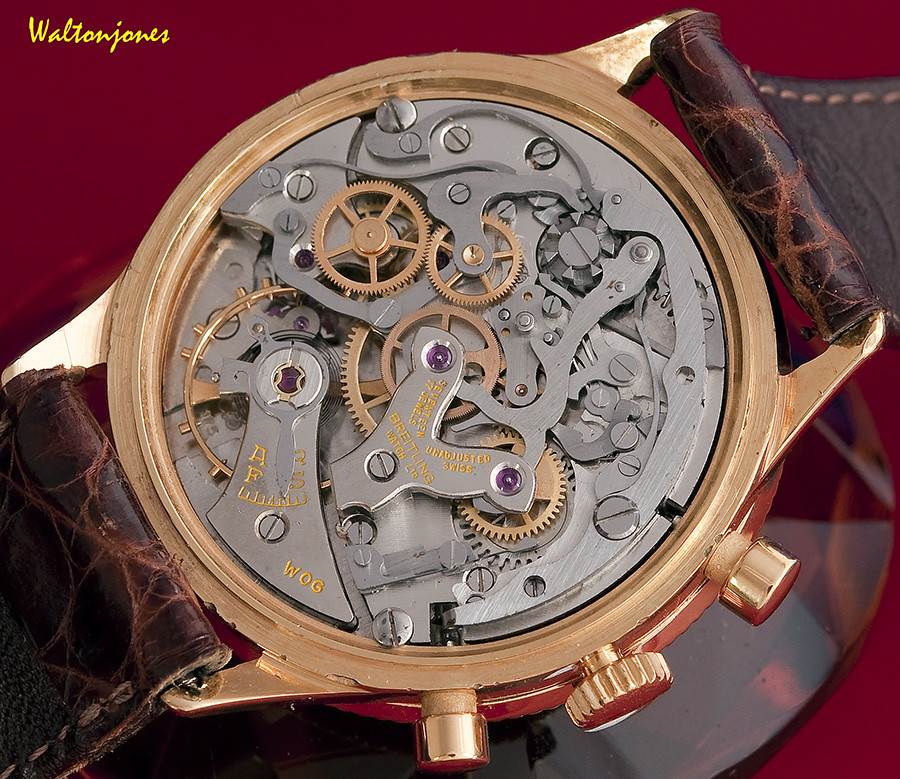
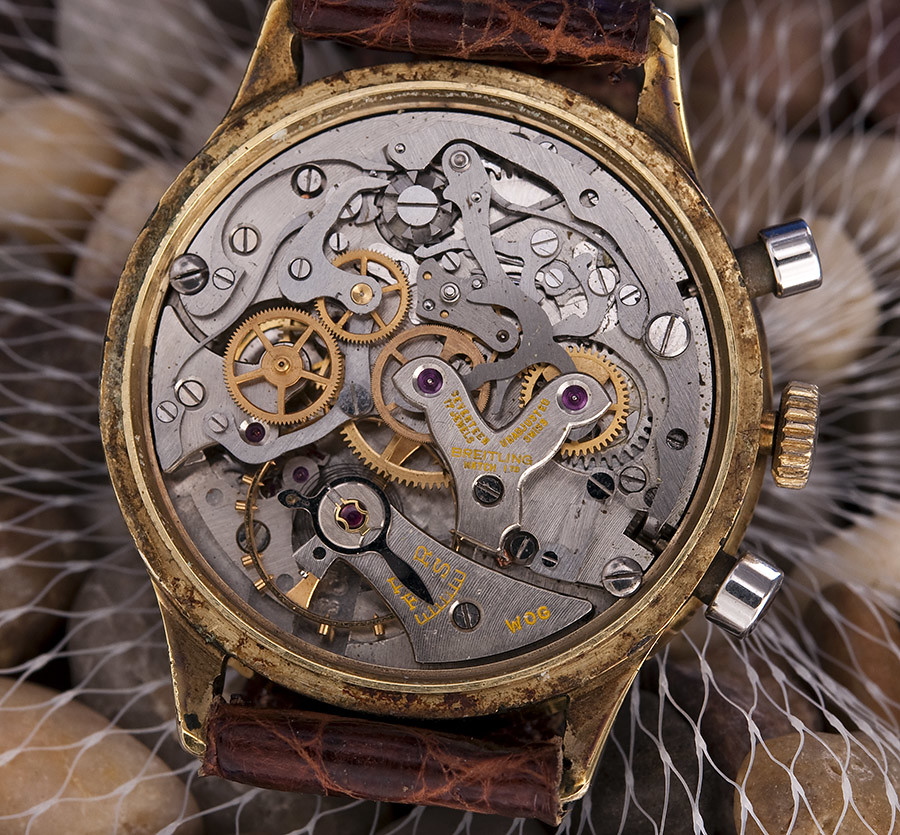
Como podemos apreciar, el calibre queda muy bien
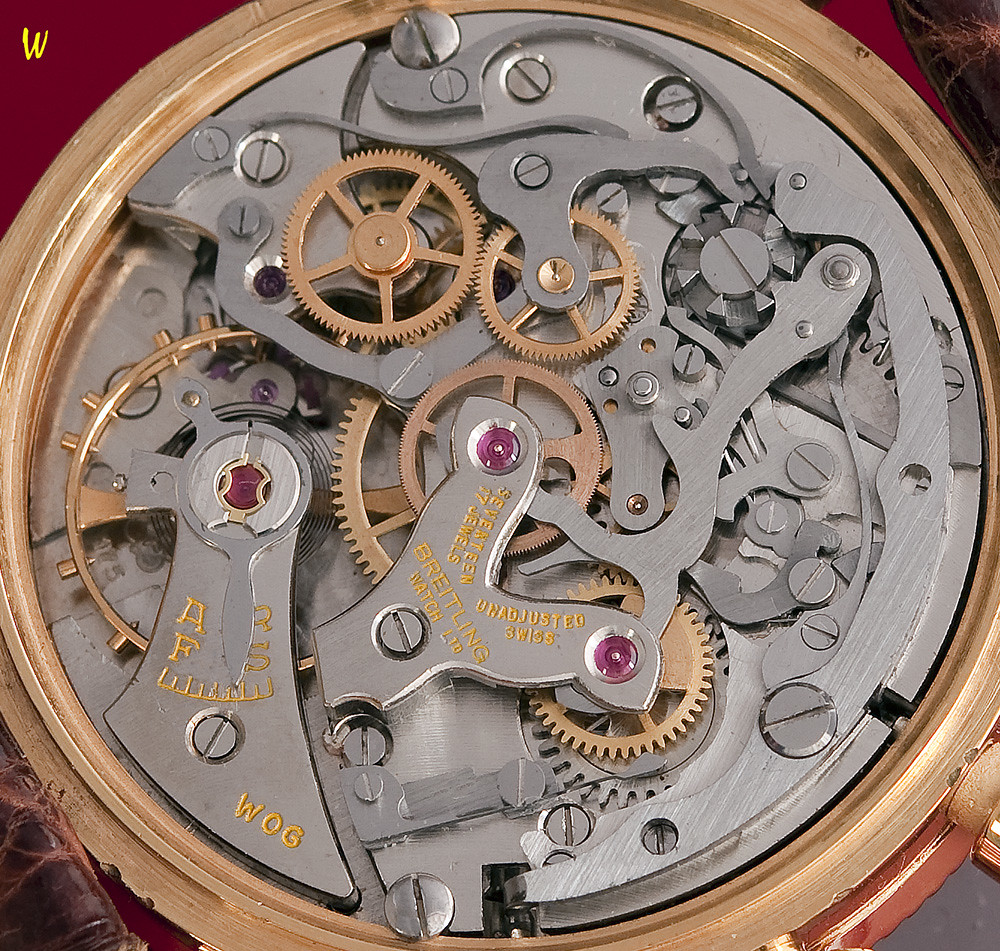
Le damos la vuelta y vemos como queda
</EMBED></EMBED></EMBED>
Como se puede apreciar esta bastante mal
Este Chronomat es de los años 60 con biesl giratorio acanalado, regla de calculo y pulsadores circulares.
Monta el calibre Venus 175 y personalizado por Breitling
Desmonto el reloj y limpio el movimiento
Voy montando
Una vez montado, aceitado y engrasado el movimiento basico, empiezo a montar las partes del crono. Haciendo las oportunas comprobaciones
<EMBED height=300 type=application/x-shockwave-flash width=400 src=http://www.flickr.com/apps/video/stewart.swf?v=71377 flashvars="intl_lang=es-us&photo_secret=cf6a799daa&photo_id=5203441267" allowfullscreen="true" bgcolor="#000000">
<EMBED height=300 type=application/x-shockwave-flash width=400 src=http://www.flickr.com/apps/video/stewart.swf?v=71377 flashvars="intl_lang=es-us&photo_secret=717cabfc21&photo_id=5204056744" allowfullscreen="true" bgcolor="#000000">
<EMBED height=300 type=application/x-shockwave-flash width=400 src=http://www.flickr.com/apps/video/stewart.swf?v=71377 flashvars="intl_lang=es-us&photo_secret=5b92947152&photo_id=5203448803" allowfullscreen="true" bgcolor="#000000"></EMBED>
<EMBED height=300 type=application/x-shockwave-flash width=400 src=http://www.flickr.com/apps/video/stewart.swf?v=71377 bgcolor="#000000" allowfullscreen="true" flashvars="intl_lang=es-us&photo_secret=1488bd4e16&photo_id=5203466163">
Ahora a preparar las partes externas.
Aqui, el bisel ya restaurado
Y la esfera
Le doy luminova
Aprovecho y le doy a las agujas
Ahora preparo la caja para chaparla.
Le quito las camisas de los pulsadores
Preparo la caja para darle el chapado
Ya todo listo. Le meto en caja
Como podemos apreciar, el calibre queda muy bien
Le damos la vuelta y vemos como queda
</EMBED></EMBED></EMBED>
 la:
la: